For an index to all my stories click this text.
Sometimes I find something on the web that is so usefull that I want to share it with you.
Powering your circuits.
When testing and building a small circuit with just one or two sensors you can use the power that your microcontroller supplies over it's 5V pin. Both the ESP32 and the Raspberry Pi Pico have a 5V and 3V3 power out pin.
But when I need more power I use an USB breadboard connector to power the project.
An example is this circuit where two TM1637 7 segment displays are connected to a Raspberry Pi Pico. The Raspberry pi pico is powered through it's USB port and on the left-top side you can see a breadboard USB connector attached to a USB power plug.
Nothing wrong with this but I always seem to run out of breadboard USB connectors.
3D printer to the rescue
Then I found this on the web:
https://www.instructables.com/Minimalist-USB-Connector-No-Special-Hardware-Requi/
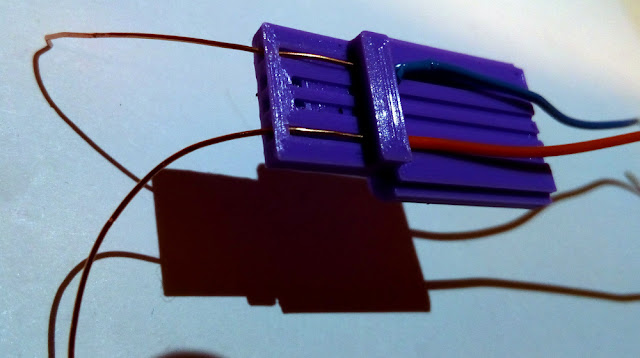
This is a 3D printed USB connector. The photo shows the assembled version.
But does it work ????
Works like a charm !!!
As you can see the USB connector is plugged into a powerbank and the multimeter shows that a nice 5V is supplied.
The STL files
The connector consists of 2 parts.
You can find the STL files in the original story which you can find here:
https://www.instructables.com/Minimalist-USB-Connector-No-Special-Hardware-Requi/
The first part is the bottom in which you need to insert the wires. The second part is the top which you should glue and press on to the bottom part when the wires are placed. The top part has ridges that help keep the wires in place.
This is how the files look in my slicer. I use Cura.
Set the quality at 0.2mm and supports on. As these are small parts you could set adhesion also on.
Assembling
I used solid copper wire with a diameter of 0.5mm. That worked very well.
I took a slightly different approach to assembling as what the original developer described.
First I stripped the wires.
Then I pulled the stripped part through the holes.
Then I glued the lid on.
The last step was to cut off the excess wire.
The blue wire at the top is GND.
The red wire at the bottom is VCC (5V).
Please test before you actually put it to use to make sure the wires are not twisted. If you mix the wires up you might/will blow up your circuit so test, test, test !!!
The wires are thick enough to fit direct into a breadboard.
You can make the wires any length you want. Short to connect to a powerbank and fit on your desk. Or make them long to connect to a wall outlet with an USB power plug.
I have printed several of these. They are ready to use in my drawer. A really great design.
Til next time
Have fun
Luc Volders


