
For an idex to all my stories click this text.

The above video shows how the project works. It consists of an ESP82666 with an MPU6050 gyro sensor powered from a battery. As you can see I printed my own casing for this. The hardware creates an Wifi access point. The idea is to put the hardware inside the caravan or mobile home and then you can go outside to level your setup while looking at your phone instead of constantly having to go back inside.
There are 5 previous stories in this series and I urge you to look at least at the first and second story as they describe the hardware setup and the MicroPython program for the ESP8266.
Part 1: the hardware and the files for the casing.
http://lucstechblog.blogspot.com/2024/04/caravanmotor-home-leveler-part-1.html
Part 2: the MicroPython program for the ESP8266 and MPU6050
http://lucstechblog.blogspot.com/2024/05/caravanmotor-home-leveler-part-2.html
Part 3: the javascript program to complete the project.
http://lucstechblog.blogspot.com/2024/05/caravanmotor-home-leveler-part-3.html
You could stop here but the following stories might prove interesting for you.
Part 4: testing the app on your PC instead of on your phone
http://lucstechblog.blogspot.com/2024/05/caravanmotor-home-leveler-part-4-run-on.html
Part 5: turning the javascript program into an Android App
http://lucstechblog.blogspot.com/2024/05/caravanmotor-home-leveler-part-5-build.html
Another (different) app.
The Javascript program that I turned into an app in the previous stories (story 3 and story 4) works and does the job. Nevertheless I was not totally satisfied with the result.
As stated before, I am not a graphic designer and yet I thought I could make a better looking app.
So I started working on an app made with Mit's App Inventor. And as I know that App Inventor is very popular I presume that readers of this weblog might be interested in how this app is programmed.
For those of you that have never worked with App Inventor I urge you to have a look at it. App Inventor is totally free and allows you to build Android and IOS apps in a very easy way. You can distribute the Apps with Google's Play store or download the APK file and send it to the ones you think might need it. You can find App Inventor here: https://appinventor.mit.edu/
This is how the new app looks.
The previous app, the HTML file turned into an app Part 5), takes about 10 Mb memory. The App Inventor APP uses about 12Mb memory. So it is larger but.......
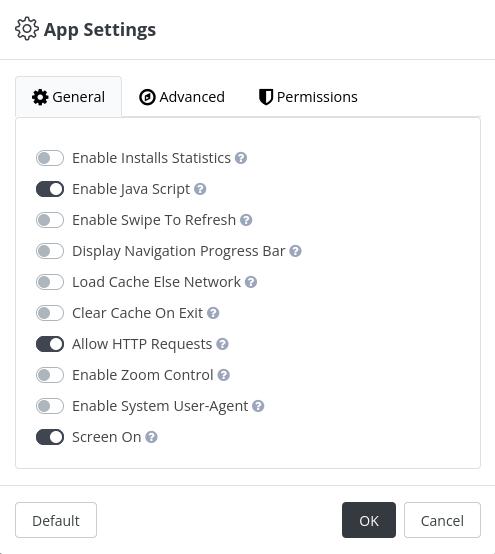
The App inventor App has a custom splash screen and a custom background.
The App Inventor blocks
Just for fun I hereby give you a picture of how the blocks look. Better is to have a look at these in App Inventor itself. You can find the AIA file (source code) at the bottom of this story so you can download it into App Inventor and experiment with it.
The App inventor files
Below you can find a link to the APK file so you can download and run the program on your Android Phone. Next to that you will find the AIA file that can be loaded into App Inventor so you can have a look at how this program is build.
But next to the AIA file you will need two extra files for this App to function and those are:


The splash screen. This screen is displayed when the App starts. You can use this splash screen or make your own. My splash screen is 500 x 841 pixels which gives a good result on most phones.
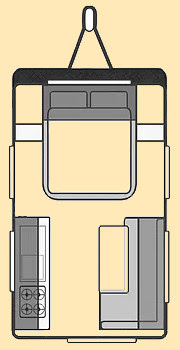
The background screen.
This is the picture on which the horizontal and vertical lines are drawn just like the middle circle and the red bubble that shows the X and Y coordinates. My version is even lower in resolution: 180 x 350 pixels. Nevertheless it looks rather decent.
Download the files:
Here is the link to the necessary files for this last story in this series:
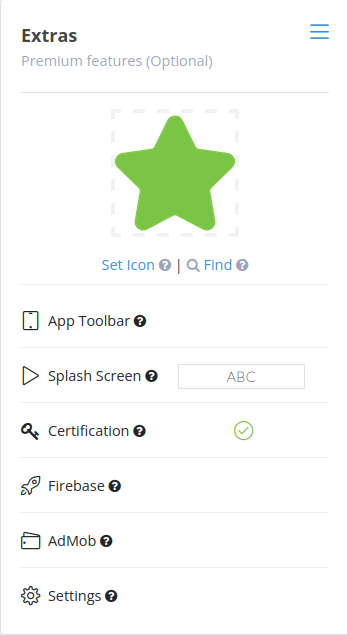
The App's icon
https://www.mediafire.com/view/h4gr0jbz7t7w7xd/caravan-ico%25282%2529.png/file
Splash screen
https://www.mediafire.com/view/jzytzodqexyx8g8/Splash2.jpg/file
Background screen
https://www.mediafire.com/view/naof1gv16wrfwto/18ftnw2.jpg/file
App Inventor program (AIA file)
https://www.mediafire.com/file/p8zawpjy0eyvkyq/Carlevel_01_AppInvent.aia/file
The APK file
https://www.mediafire.com/file/bq9m2chnc0b1vgv/Carlevel_01_AppInvent.apk/file
The APK file is off course the new App. You can download it on your phone install it and you are ready to go (provided you build the hardware from part 1 and part 2)
That makes this series about the caravan/mobile-home leveler complete. I hope you enjoyed it and have some practical use for this project.
Till next time
have fun
Luc Volders


