
However there is something special with this alarm. Most alarms based on movement detection will make some serious noise when activated. That will scare some people undoubtedly. However what if you are not at home. The noise will not be heard by you and so you will not know that ytour house is broken in.
So we are going to use the IFTT Maker channel (now called Webhooks) like described in this article for sending you a notice on your phone when movement is detected.
Besides that we are going to do it in BASIC. Just to demonstrate how easy it is.
First let us look at the setup.


As the breadboard layout shows you I used a NodeMCU for this. The PIR is attached to D3 and gets it's power from the 5 volt line from the NodeMCU which is situated on the first pin on the left side of the board named VIN. As described in the general story about the PIR: it will not work at 3.3 Volts. So luckily the NodeMCU has a 5 volt power line.
A led is attached with a 220 ohm resistor to D2.
Overkill ???
Ok I could have done this with an ESP-01. So why use a NodeMCU for it. At the time when I write this story the price difference between the two is just 60 cents. So its economics. The ESP-01 does not like to have things attached to its GPIO's at startup. Therefore I should put a switch between the PIR and the GPIO and wait till the ESP-01 has started before flipping the switch to attach the PIR to the GPIO. Next the PIR works on 5 volts, the ESP-01 on 3.3 volts. So I would need to have a 5 volts power supply attached to the PIR and a 3.3volts voltage regulator attached to the ESP-01. Add it all up and a NodeMCU with its on board 5 Volts and 3.3 Volts and loads of I/O's which are free to use all the time is an economic better choice.
The BASIC program works as follows.

First nothing happens. That is important as the PIR has to settle for about a minute after power-up. The program will start after you press the Start button. Now the program waits for movement to be detected and when that is the case it will activate the LED and send notoice to your IFTTT maker Channel. and that will send a message to your Phone.

The led stays on even if there is further no movement detected anymore. The led will only go off when you press the Start button again. At that time the whole process will be repeated.
Now let's look at the program.
 ' this program checks movement
 ' with a pir controller and if detected
 ' send alert to your phone
 io(po,D2,0)
 wprint "<h1>Movement detector</h1>"
 wprint "</br>"
 wprint "</br>"
 button "start", [click]
 wprint "><><><><><><"
 button "Exit", [progend]
 wprint "</br>"
 wait
 [click]
 io(po,D2,0)
 do
 movement = io(pi,D3)
 loop until movement = 1
 io(po,D2,1)
 print wget("maker.ifttt.com/trigger/Motion detected/with/key/PUTYOURIFTTTKEYHERE")
 print "alert"
 wait
 [progend]
 end
Pretty straightforward.
First I define two buttons. One for starting the movement detection and another one to end the program.
Now if the START button is pressed the programs waits until it detects a HIGH signal on pin D3 meaning that the PIR was activated. The program then puts the LED on. And this single line:
print wget("maker.ifttt.com/trigger/Motion detected 2/with/key/PUTYOURIFTTKEYHERE")
is all that is needed to activate your IFTTT Maker Channel
Some HTML code was used for pimping up the page like the H1 code but that is just for looks and not for functionality. Just like the line that prints the word alert.
So I urge you to have a look at ESPbasic it is definitely worth it.
The endresult.

After thorough testing I put the breadboard setup on a striboard.

Next I made a large casing for it.
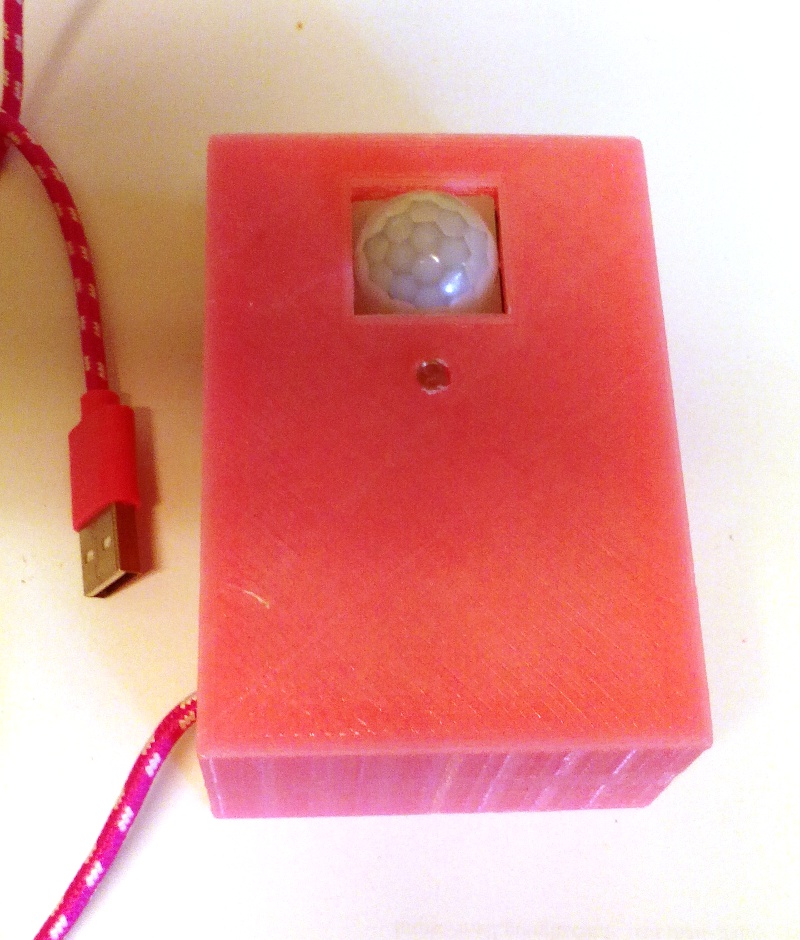
And this is how the finished project looks like.
You can find all the necesarry files being the Basic source code and STL files for the casing on my github repositry.
https://github.com/Lucvolders/PIR-Movement-detection
That's it for now.
Have fun
Luc Volders