For an index to all my stories click this text
In this article I am going to show you how to make a mold from your 3D print. With a mold you can easily make as much copies of your print as you like. The technique shown here can easily be used for your own designs.
Remember the shackleguard I designed and 3D printed ?? You can find that story here: http://lucstechblog.blogspot.com/2022/07/build-shackle-guard.html
Well what if you wanted more as one piece. You could print several of course. That would take a lot of time. So how about making a mold from it and produce as many as you want. That was the idea and I set out to try to realise it.
Building the mold
I started with examining the original shackleguard. It appeared that it was a bit smaller at the top and wider at the base. Give this some thought as that will make it more difficult if not impossible to get out of the mold.
So I selected the rotate tool in Tinkercad
And I rotated the guard 180 degrees. As you can see the top is now wider as the bottom. That will make it easier to get them out of the mold.
Next step was to make a box which is a bit larger as the shackleguard. For convenience give the box a different color.
lift the shackleguard so that the top of it is a bit higher as the top of the box.
Move your model into the box. It is neat if it is centered but no worries if it is a bit off.
Carefully lower the model into the box so the top of both the model and the box are at the same hight.
Turn the model into a hole.
And group the two items.
That's it.
In Tinkercad export the mold as an STL file. Import it in your favorite slicer. I used the Creality slicer as this is not a very complicated model and I sliced it at .3 mm The slicer shows that it will take 1 hour and 36 miniutes to print.
And here is the finished mold !!
Oogoo
Back in 2016 I wrote a story on this weblog about Oogoo. Oogoo is a rubber-like substance made from a mixture of cornstarch and Silicone caulk. This would be ideal for my project. Re read the story on Oogoo here: https://lucstechblog.blogspot.com/2016/04/oogoo-and-oobleck.html
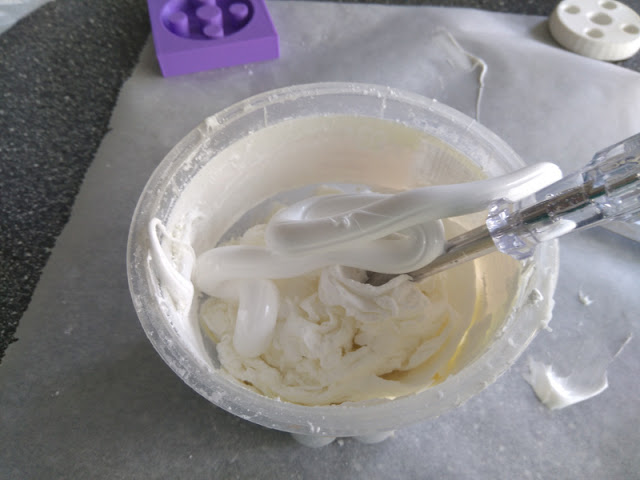
I mixed 2 parts of Silicone caulk to one part of cornstarch. That gives a thick paste. 
The mold was liberally filled with the paste.
I waited a day to let the substance cure then I cleaned the surface of the mold.
And here is the finished product after I got it out of the mold and cleaned it up a bit with a sharp knife. Removing the part from the mold was actually easier as I thought.
This picture shows the original printed version on the right and the Oogoo one on the left. The Oogoo version still needs a bit of cleaning up at the bottom of the holes. but you can see they are identical.
Actually the Oogoo version is better for this purpose as it is more rubbery. It bounces nicely and therefore is ideal as a shackleguard as it will not damage your boat if it hits the boat.
This was more fun as I expected. The oogoo shackleguard could nicely be removed from the mold and the mold can be used to produce some more.
Till next time
have fun
Luc Volders
